How To Plan Out Your Seating Chart
Updated September 2026: The wonderful Martin Fox-Roberts of Proud Fox Ceremonies kindly contributed some additional advice on how to best accommodate d/Deaf wedding guests!
Quick hello if you're new- I'm Becky and Hawthorne and Ivory is my wedding stationery design studio. I make colourful, fun-loving save the dates, invitations, on the day pieces (including the table plans we're about to plan!), guest books and thank you cards for UK couples. Right, on with the seating chart…
Hello there lovely wedding planning couples! Are you feeling a bit overwhelmed by the thought of creating a seating chart or table plan? Don't worry, you're not alone! Seating charts can really be quite the challenge and sometimes a bit of a minefield… but with some tips and tricks, you'll be sorted in no time and have your guests feeling welcome and at ease on the day.
1. start with your floor plan
Before you start assigning seats, it's essential to have a good understanding of your reception venue's layout. Hopefully, your venue should be able to provide a floor plan which marks the key details like the location of the bar, dancefloor, bathrooms, and any other notable features. Maybe there are columns to work around, or if you're having a tipi wedding you'll definitely need to consider the big posts holding it all up! This will help you visualise the space and plan out where tables and chairs will be placed.
2. think about where you want to sit
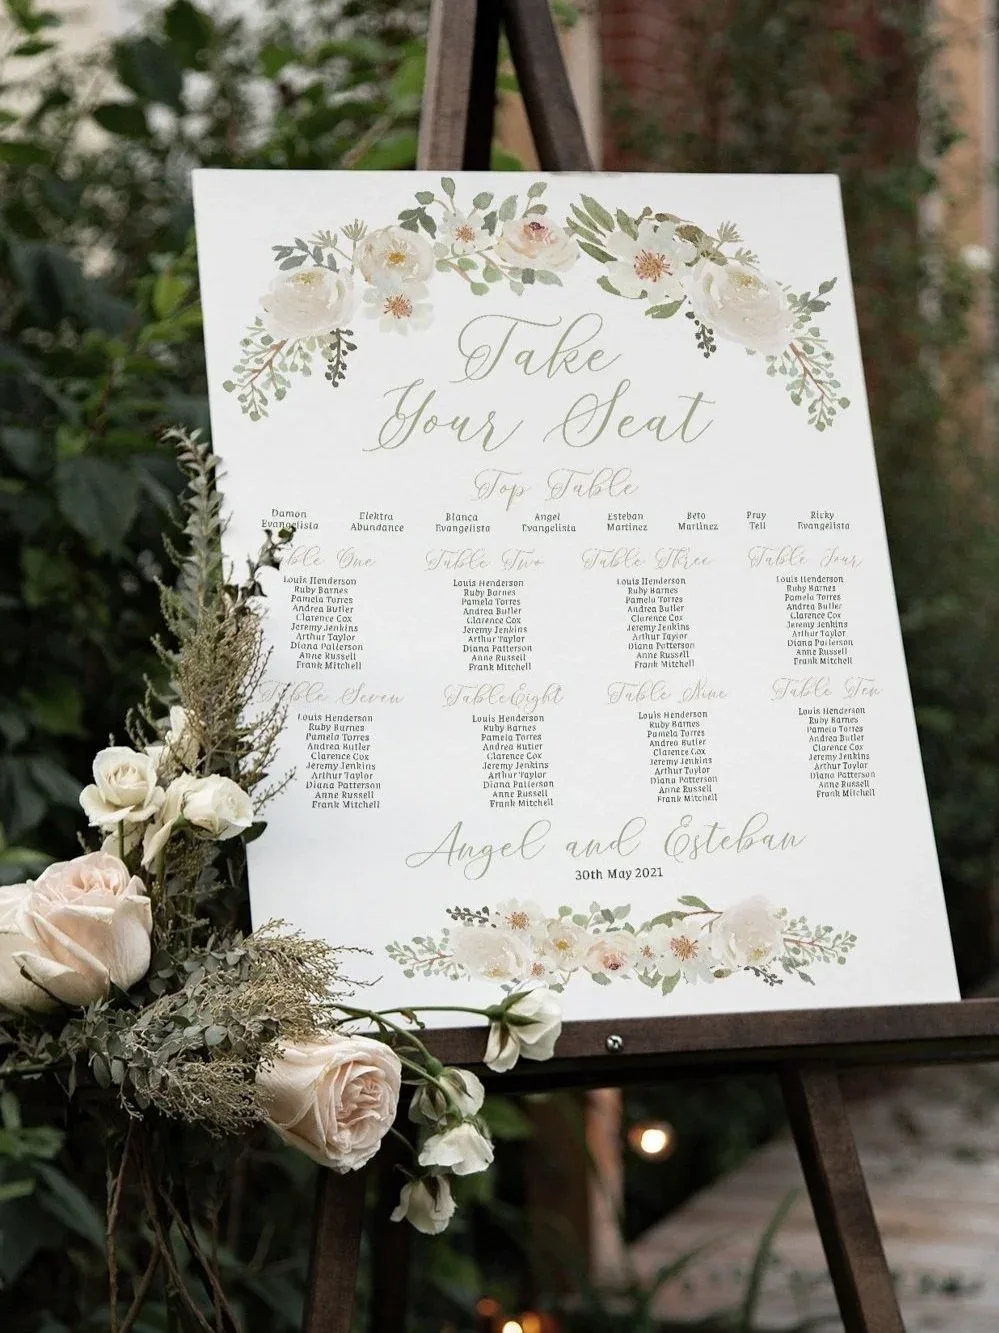
Lots of couples opt for a top table at the head of the room, with them seated in the centre, and their wedding party on either side of them- with everyone on one side of the table looking out into the room. However, you absolutely don't have to do this if it makes you uncomfortable. You could opt to have you and your wedding party seated around a table just like all of your other guests. A lovely idea is to take some time for just the two of you, and decide to have a sweetheart table! Or, whatever makes you most happy.
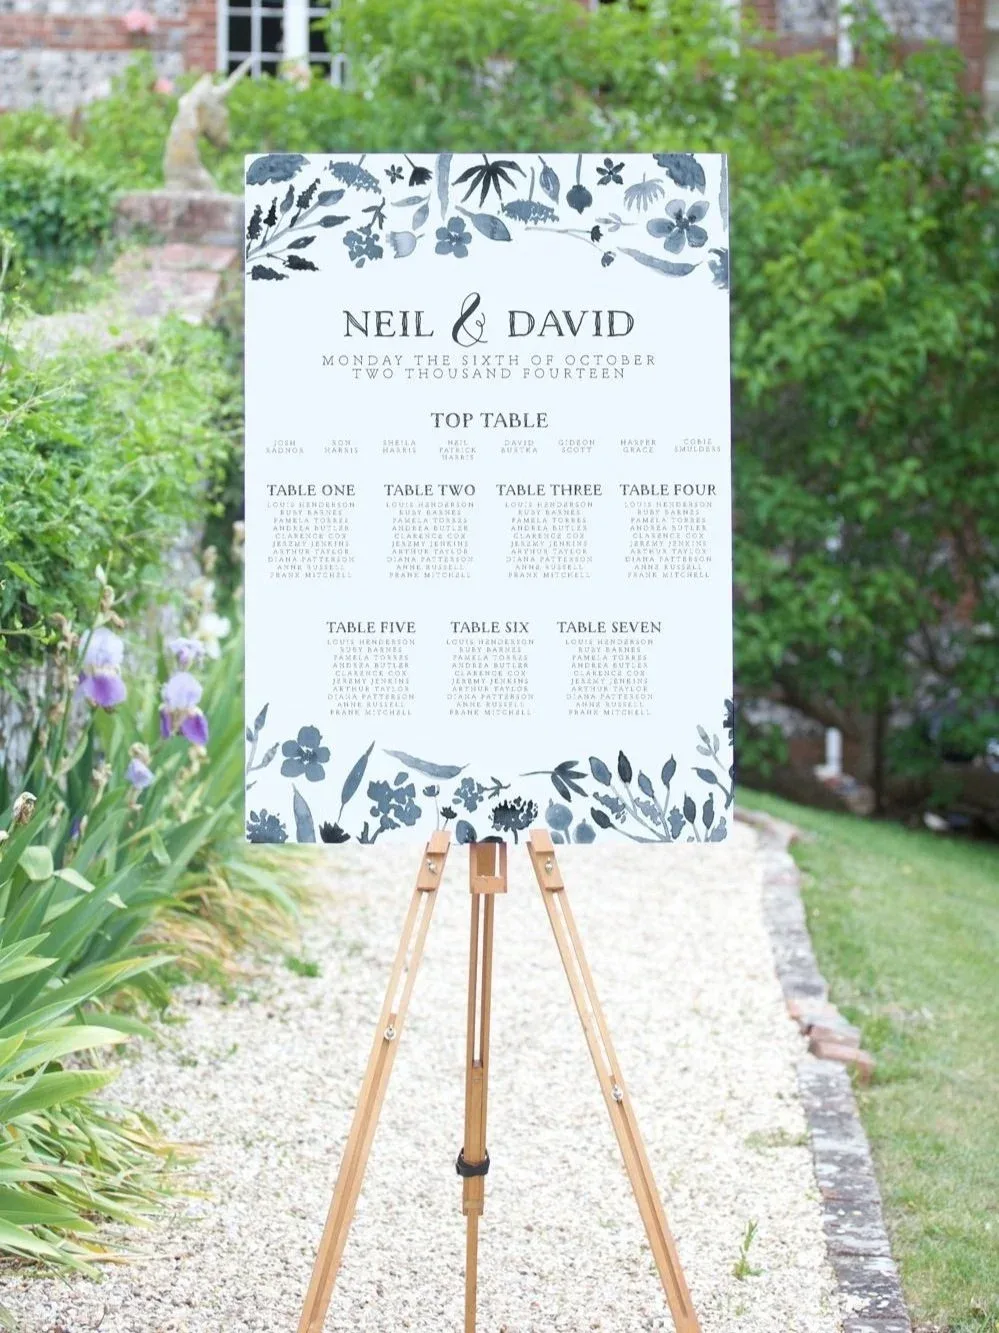
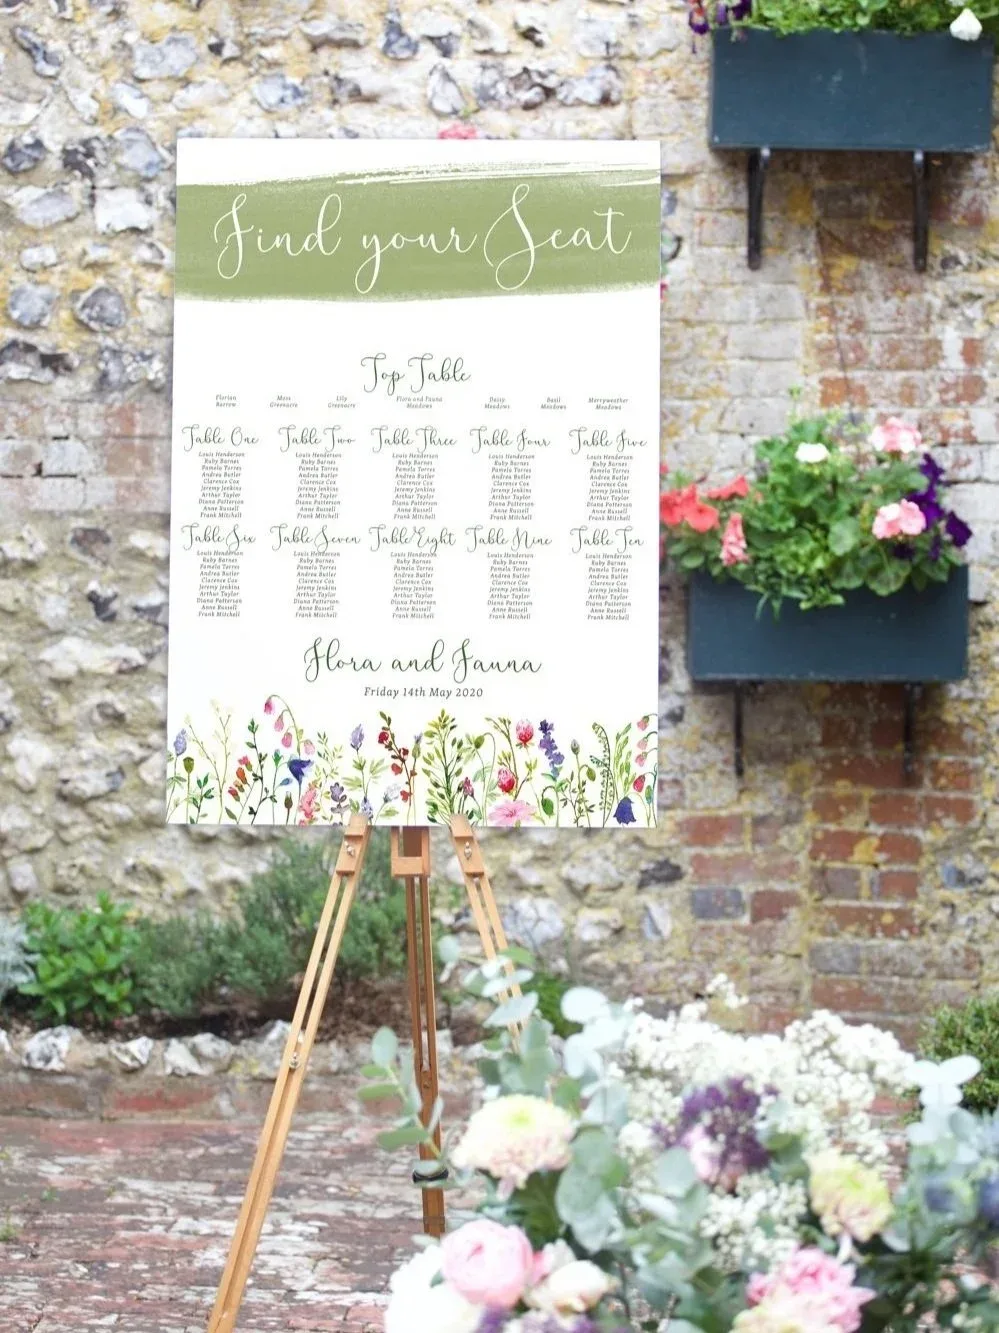
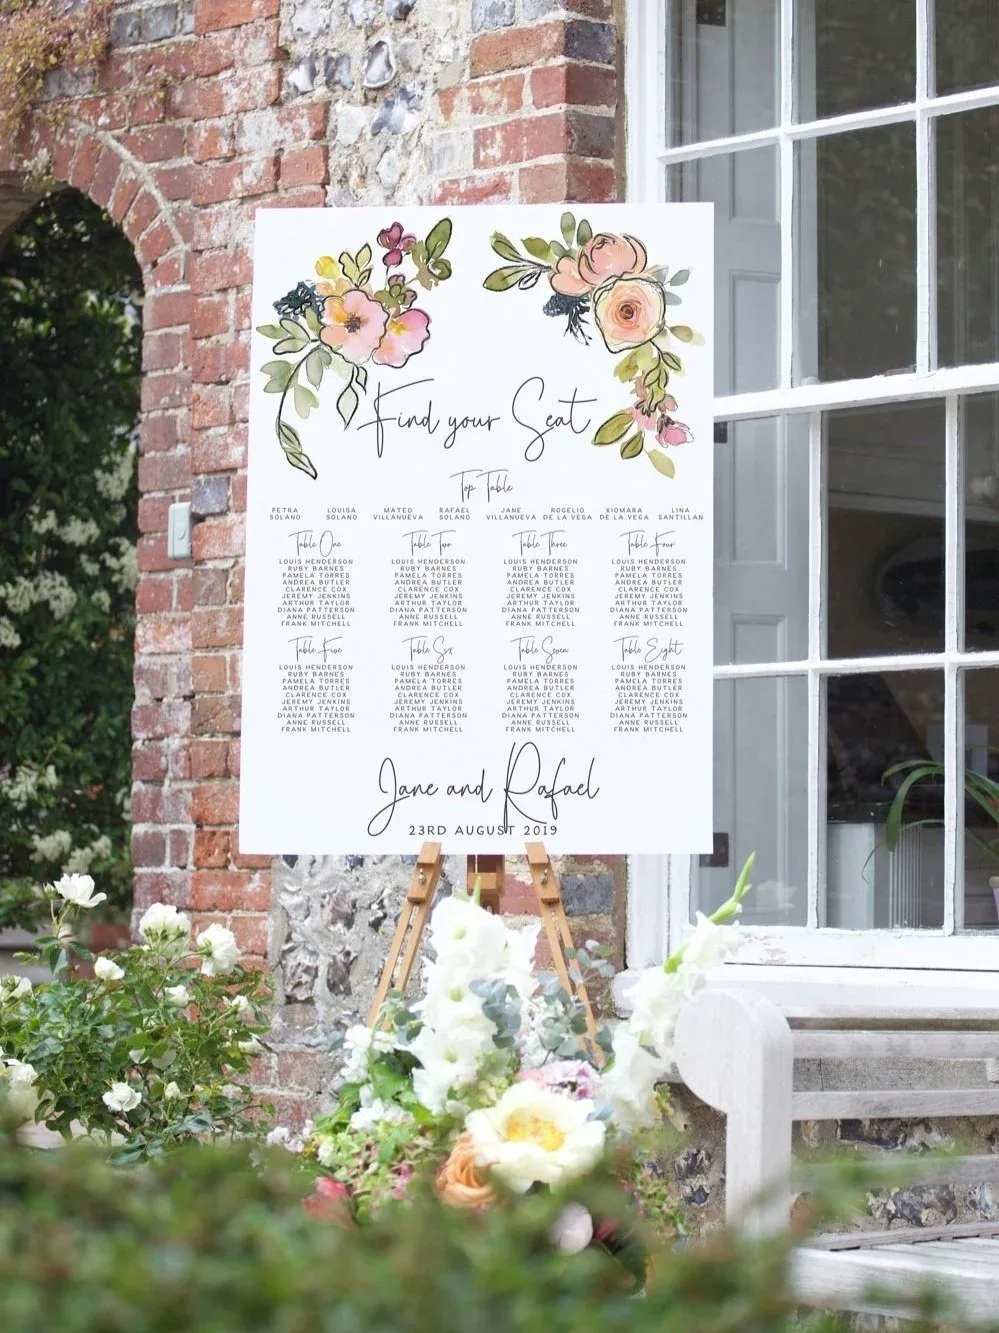
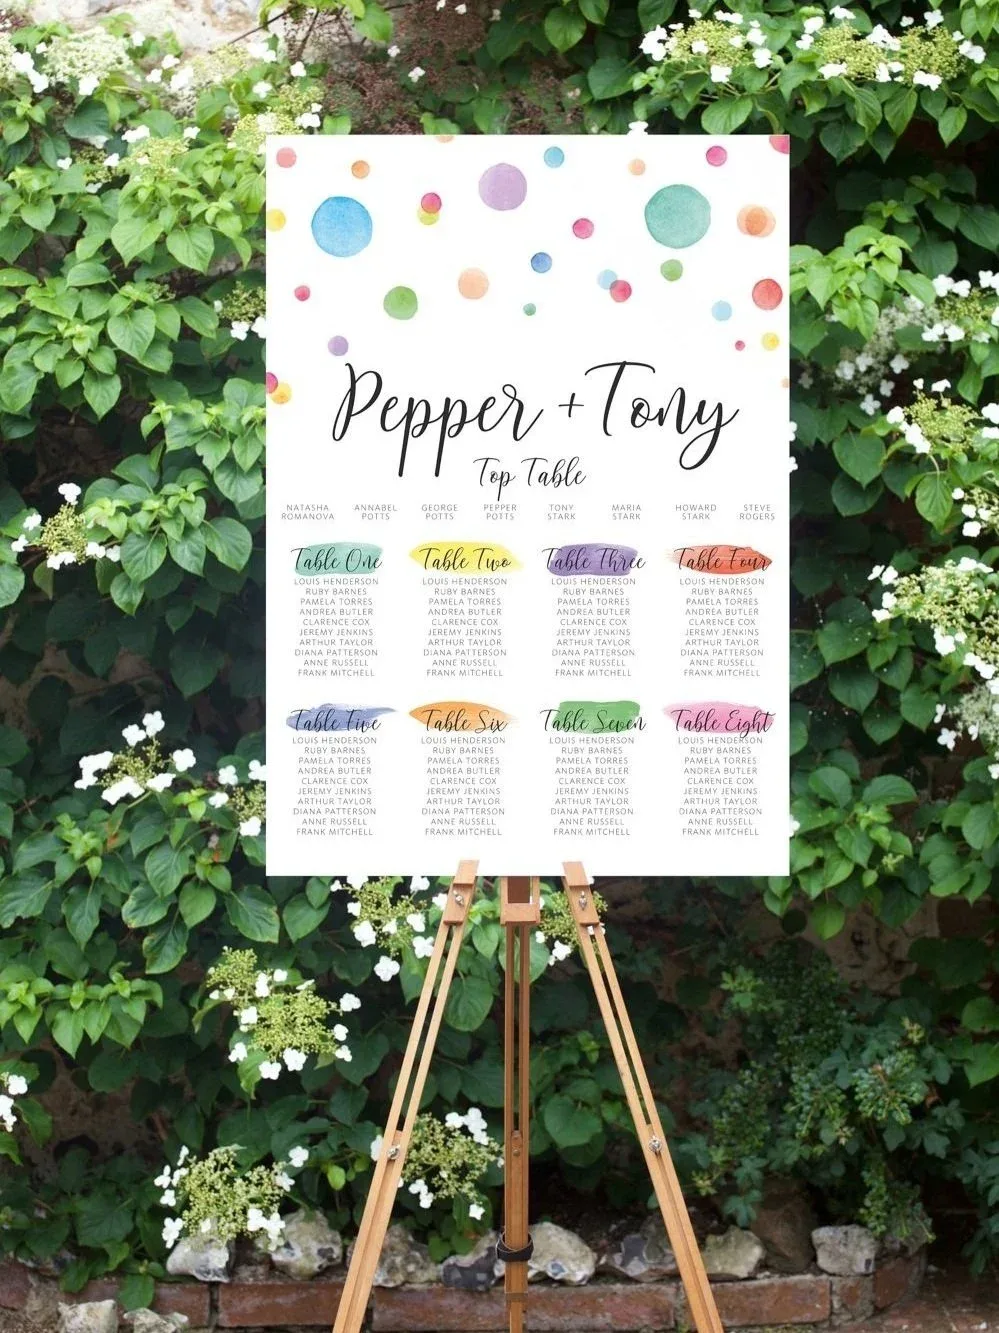
NOTE: a huge thank you to wedding celebrant Kathryn for her contributions about accessibility in section 4!
3. organise your guest list
Then, it's time to tackle everyone else! Organise your guest list into groups based on their relationships with each other, you may want to divide people into you and your partner's families and friends as a starting point. For some guests, this should make assigning them to a seat quite straightforward, and for others, it might highlight some family politics that you need to navigate. This is where that floor plan can come in handy… if anyone needs to be kept separate you can see just how far apart their tables will be. For anyone who doesn't slot in easily on a table, consider their varying personalities and interests when deciding who they should sit with. This might help you group people together who will enjoy each other's company and have a great time sitting around the table together.
4. consider accessibility
It's important to consider the access needs of all of your guests when creating a seating chart. First of all, make sure that tables are easily accessible and not too closely packed together. If you know you have guests with specific access requirements, the best thing you can do is to try not to make any assumptions and ask them if there's a space/ seating location that might work best for them. For example, guests with mobility issues may prefer to sit closer to the entrance, closer to the bathrooms, or closer to the bar so they don't have as far to carry their drink! Guests who are neurodivergent or face sensory barriers may like to be on the periphery so that they can easily step out and take a break if they need to.
If you have guests who are D/deaf or who have a hearing impairment, you may need to think about positioning their seats away from background noise (such as kitchens) or making sure they are in a position that will make them feel as involved as possible during speeches. Depending on someone's specific access requirements - that could mean, being near the amplifier, having a good line of sight to those making speeches so they can lipread, or being able to see their interpreter.
One note to think about, if you are seating someone somewhere specific to make sure they can access and enjoy your wedding, it's worth making sure they are still sat with others who they know (or who you would have sat them with anyway) it is super-othering to realise you're sat somewhere where you're only accommodated, not included. This may sound like a LOT to think about, but remember that your guests will be the expert in what they need, so don't feel like you have to guess - ask them what would work best.
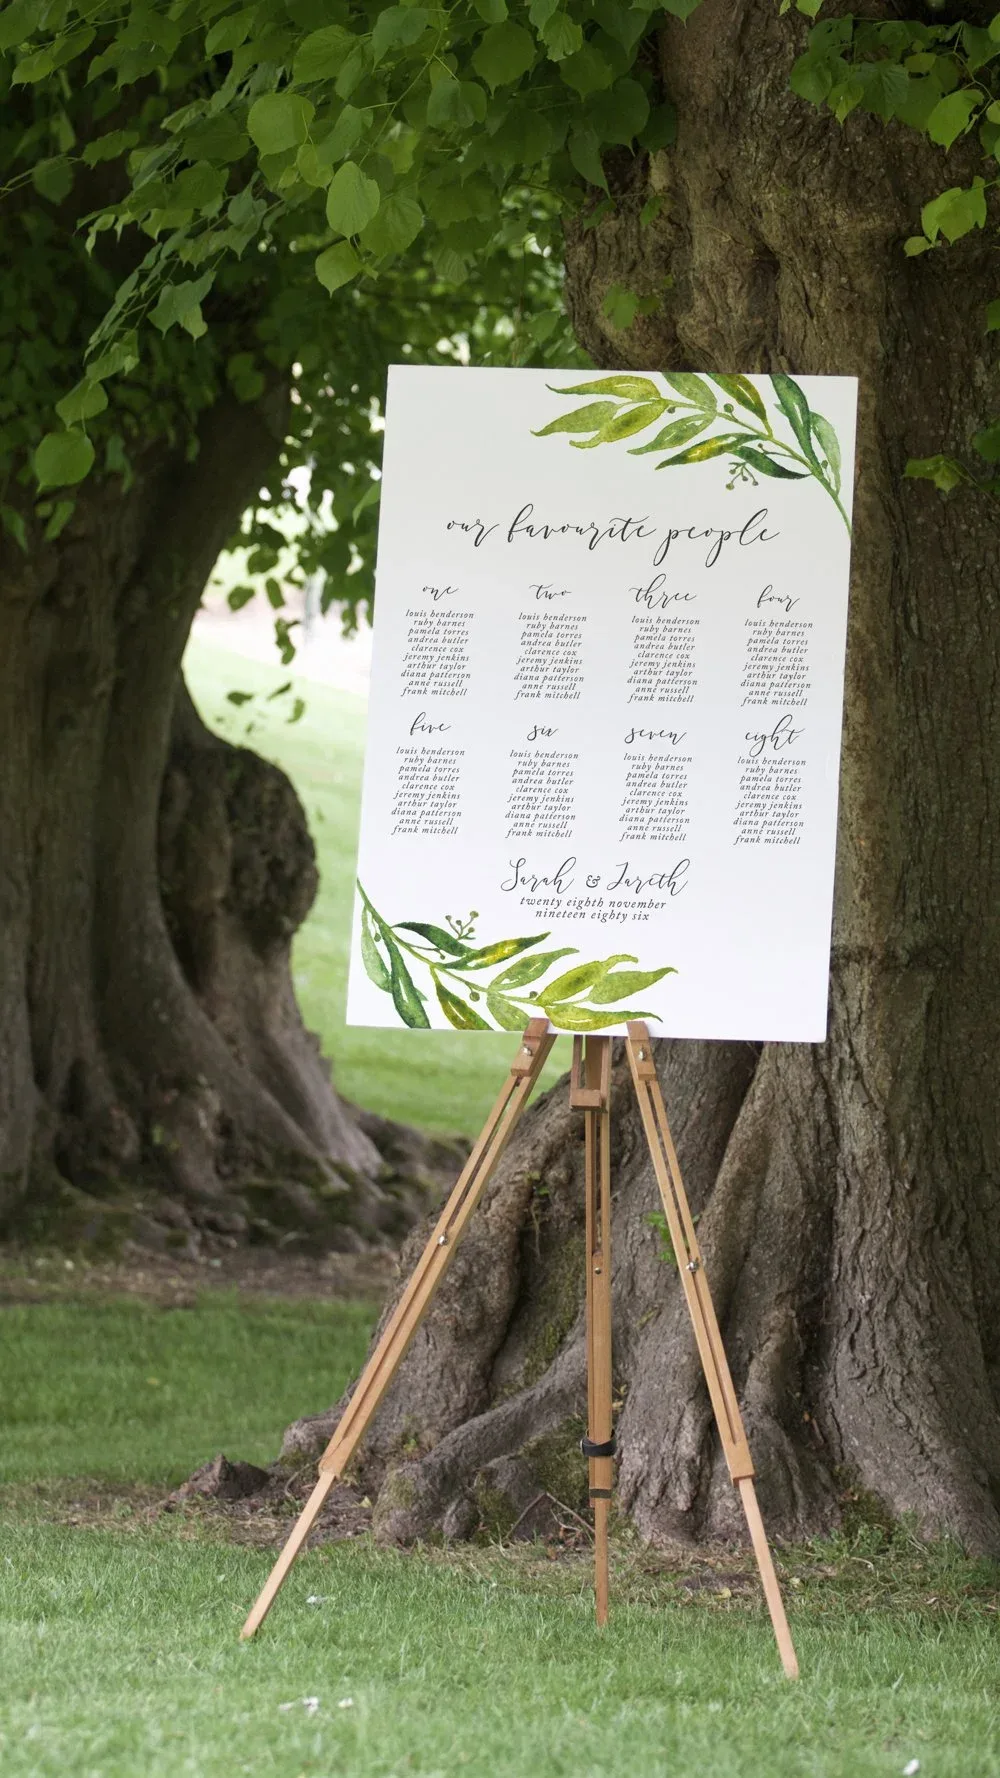
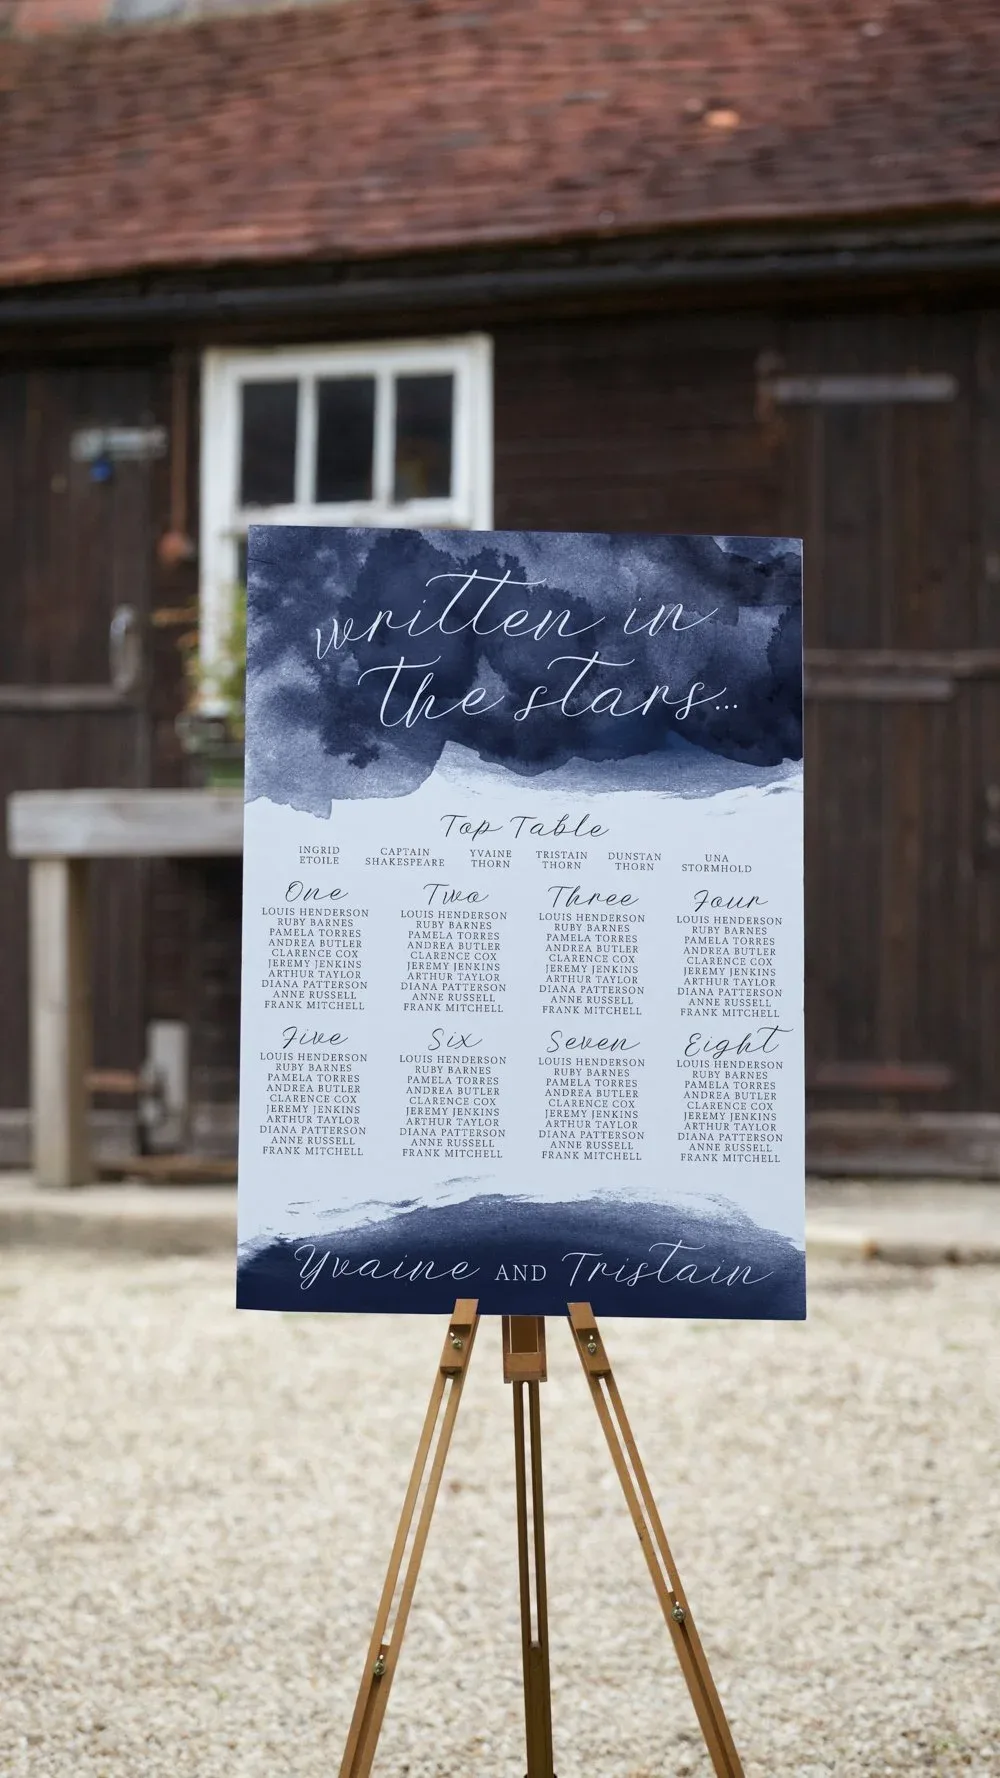
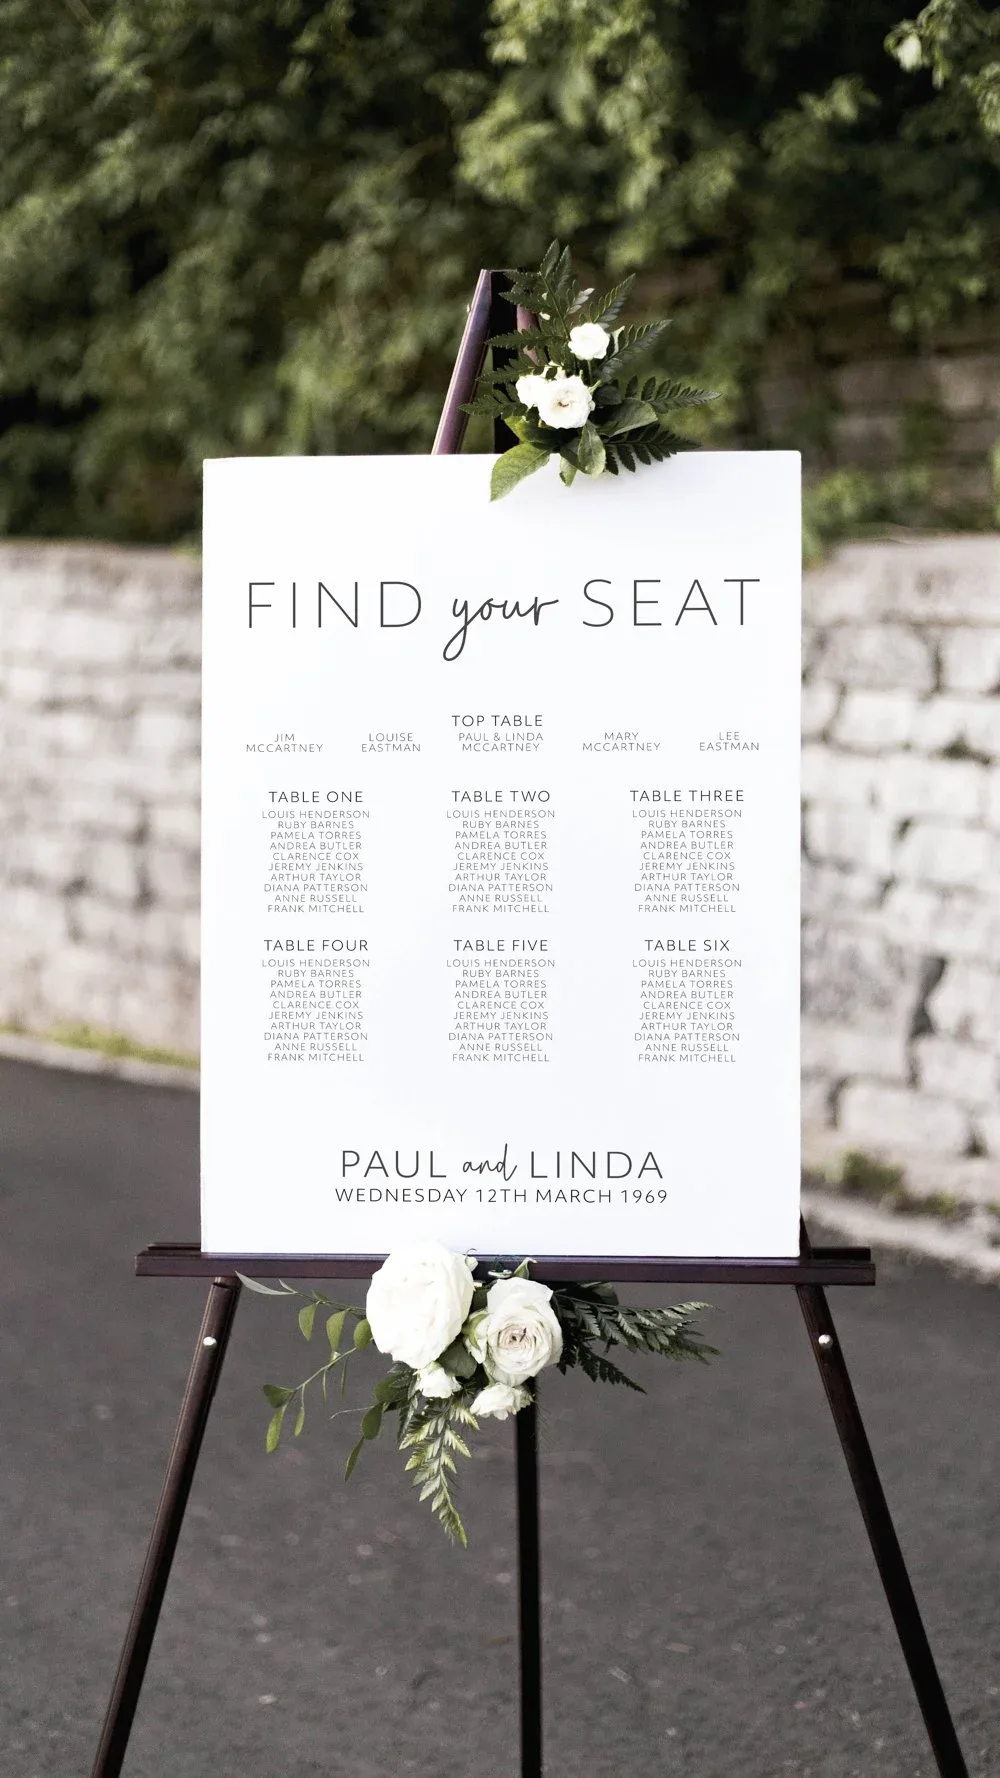
A note on the table plans themselves… these are designed as larger boards and will automatically have larger size type so they should be clear and accessible by default. However, if you or your guests have specific access requirements around text, colour, and contrast, please don't hesitate to let me know and I will design with those needs in mind!</p>
5. start with tables and move onto seats
When you've figured out the layout of all of your tables and know how many seats will be at each, you can figure out how to group everyone together. You might even find that groups form organically, if you have two families of four who get along well, pop them on an 8-seater table and you're set. Once tables are boxed off, you can move on to assigning the seats around them. Think about how you'd like to arrange everyone around the table, for example, you could seat couples next to each other, or have them opposite one another.
I also asked Martin Fox, of Proud Fox Ceremonies, to share some of his tips on making sure your wedding is accessible and inclusive of d/Deaf guests. He’s an expert in delivering British Sign Language wedding ceremonies and has some wonderful tips for you to help make all of your guests feel welcome.
And I have even more advice on creating an accessible wedding day in my other blog here!
Some more excellent advice from British Sign Language Celebrant Martin Fox-Roberts
So, how can you make your wedding more Deaf aware?
You don’t need to completely redesign your wedding to make it more accessible. Often, it’s the small things that can make a really meaningful difference. Here are a few tips…
Think carefully about your seating plan for the ceremony AND wedding breakfast.
If you have Deaf guests or guests who use BSL, think about where they will have a clear view of the celebrant, the couple and anyone else who will be speaking. Perhaps the seats should be arranged in a circle or a horse shoe configuration. For someone who lipreads or uses BSL, being able to see the person speaking is really important. Try to avoid seating someone where their view could be blocked by pillars, flowers, decorations or other guests. A seat facing the room can make conversations much easier than sitting with your back to everyone.
Lighting matters.
Good lighting is incredibly important for BSL users and people who lipread.
Beautiful low lighting might look gorgeous in your photographs, but if the room is too dark, it can make communication much more difficult.
Try to avoid having speakers or BSL users standing with a bright window or strong light directly behind them, as this can make it difficult to see facial expressions and signing.
And remember that candles and fairy lights might create a beautiful atmosphere, but you’ll still need enough even lighting for people to communicate comfortably.
Make sure your suppliers know.
It’s worth telling your venue, celebrant, photographer, videographer, DJ and other suppliers if you have Deaf guests attending.
For example, your photographer might need to make sure they have everyone’s attention before giving instructions for group photographs.
Your DJ could make sure important announcements aren’t communicated solely through the microphone.
And your venue team should know that some guests may need to see announcements or have information communicated to them in another way.
Most importantly, ask.
I think this is probably the biggest piece of advice when it comes to accessibility. Don’t worry about getting everything perfect. Don’t be afraid to ask questions. Don’t assume that every Deaf person communicates in the same way.
Some Deaf people use BSL, some lipread, some use spoken English, some use hearing aids or cochlear implants, and many people use a combination of different communication methods.
So rather than assuming what someone needs, simply ask them.
A quick, “What’s the best way for us to make the day accessible for you?” can go a long way. If a Deaf guest tells you they need something specific, listen to them. They are the expert in what works for them.
Accessibility isn’t about making assumptions. It’s about creating an environment where everyone has the opportunity to feel comfortable, included and part of the celebration.
Thanks Martin!!
As you can see, creating a seating chart is just one part of planning a successful wedding reception. Don't stress too much about it- your guests will have a great time regardless of where they sit.
Once your seating plan is sorted, you'll want to think about the stationery that sits on those tables too. My posts on bespoke menu cards and the A-Z of wedding stationery have you covered there. They'll also most likely only be in their seats for a few hours as you all enjoy the wedding breakfast! Once everyone has eaten, they'll be back to mixing and mingling for the rest of the evening and having an absolute ball. So don't let it worry you, and make sure you focus on each other.